Archibites Parking v5 introduces a more powerful way to add accessories. It allows greater customization in their output and visibility.
Opening the interface and navigating to the Accessories tab has a list of all available accessory slots (1) called Accessory A,B,C, etc. Select the accessory to edit it. Each Accessory has a type (2) and can be set to Text, Bollard, Signs, Car, etc.
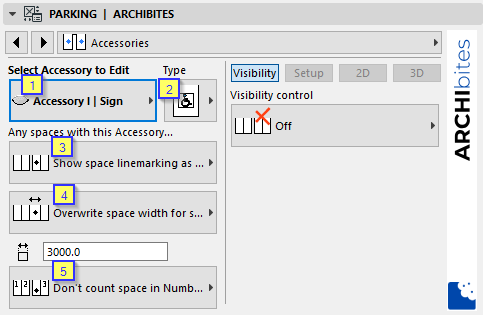
This allows multiple accessories of the same type to be used. Example you might have Accessory A as sign type with an accessible graphic And Accessory B also as a sign type with an Electrical Vehicle graphic.
On the left side of the interface for each accessory you can
- Show or hide default line-marking (3) as set in the line-marking main tab. E.g. If you are showing a thick hatched line you may like to hide default line marking
- For Sign type accessories only (4), the default space width can be overwritten where ever the sign appears. Useful for accessible type spaces.
- Count or not count (5) any parking spaces with this accessory. This will be used to determine if a number should be shown (if on in Numbers tab) and also if counted in Archicad’s Scheduling.
On the right side are the settings for the currently selected accessory
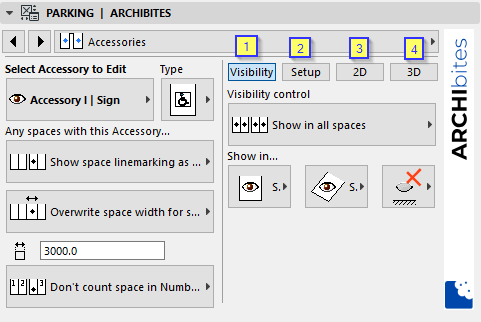
Setup (2) has the main dimensions and key parameters for the accessory. 2D (3) and 3D (4) have settings specific to viewing in plan and 3d windows.
Visibility (1)
- Off
- Show in all Spaces
- Show in all spaces except if Accessory # in same space. Set if another accessory is in the same space, then don’t show it, otherwise it will show in all other spaces. Example you want to show wheel stops in all spaces except if the space has a hatched fill or a particular text.
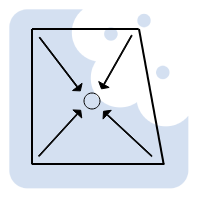
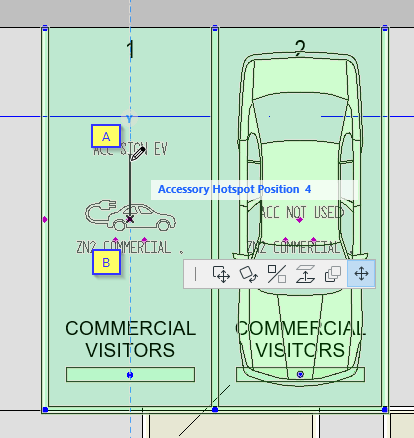
- Show by space hotspot Position. This enables individual space visibility control. It allows an accessory to display if hotspot (A) is in a specific position for an individual space in the floor plan. So an accessory set to display with hotspot 4 will only display if the hotspot for a space is dragged towards the front of the space on plan to position 4.
There are also double-hotspots (B) on plan that are draggable to the back of the space. These control what zone the space belongs to and is discussed in another article here.
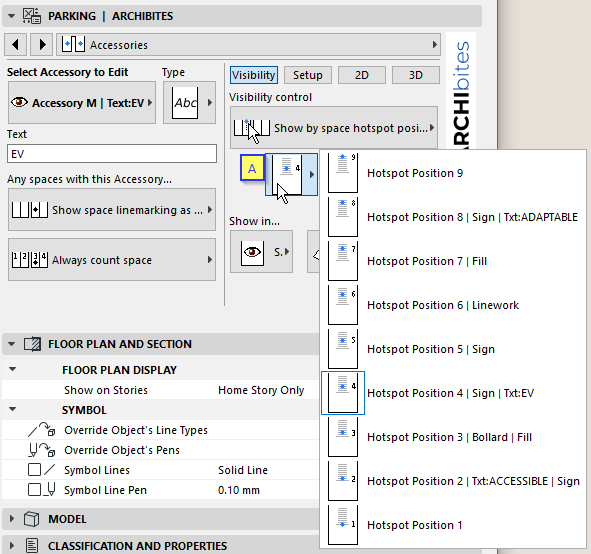
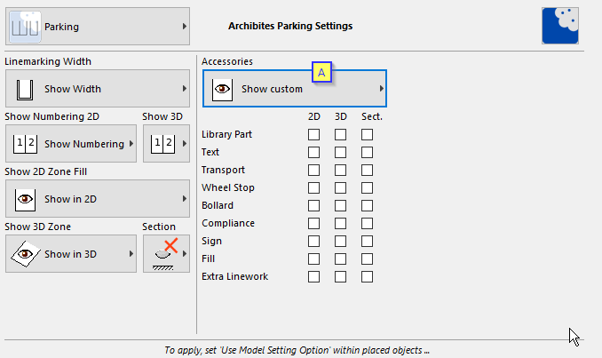
The accessory can be set to show/not show in plan, 3d and/or section/elevation. Both visibility and relevant show in settings must be on to see the accessory. Also set here if to use model views options settings for plan, 3d and/or section/elevation to give even greater control.
There can be up to 20 different accessories set. You will likely combine accessories to show in a single space. As an example you may show in one accessible parking space 4 accessories
- Car
- Accessible sign
- Accessible labelling text
- Compliance clearances
Model views are also a great way to control the visibility of accessories for drawing types. Once set to use model view option within the object settings, model views can be used to show/hide all accessories or control visibility on a ‘type’ bases (A) for different drawing types. Model views also contain a number of global settings for the parking object that provides excellent control.
TIP: It is recommended to setup all the accessories your office typically use. Setting it up per user, in different projects, may result in the same Accessory slot being used for different accessories and therefore making it difficult to copy and paste between project.
It is also recommended when changing parking settings you select all parking objects and change all so they have consistent settings.
Scheduling
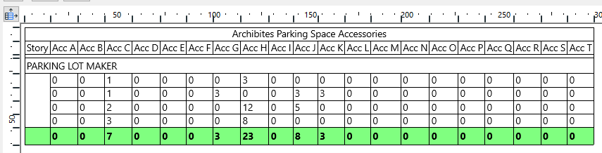
Archibites provides templates for scheduling Accessories and Zones on our download page.
When first opened, the name of the accessory defaults to the Accessory letter A,B,C, etc. You can rename the titles in the schedule as you see fit to match the type of Accessory you have setup. Unused columns can also be deleted or added back in as needed.
Also check our article on Zones here.